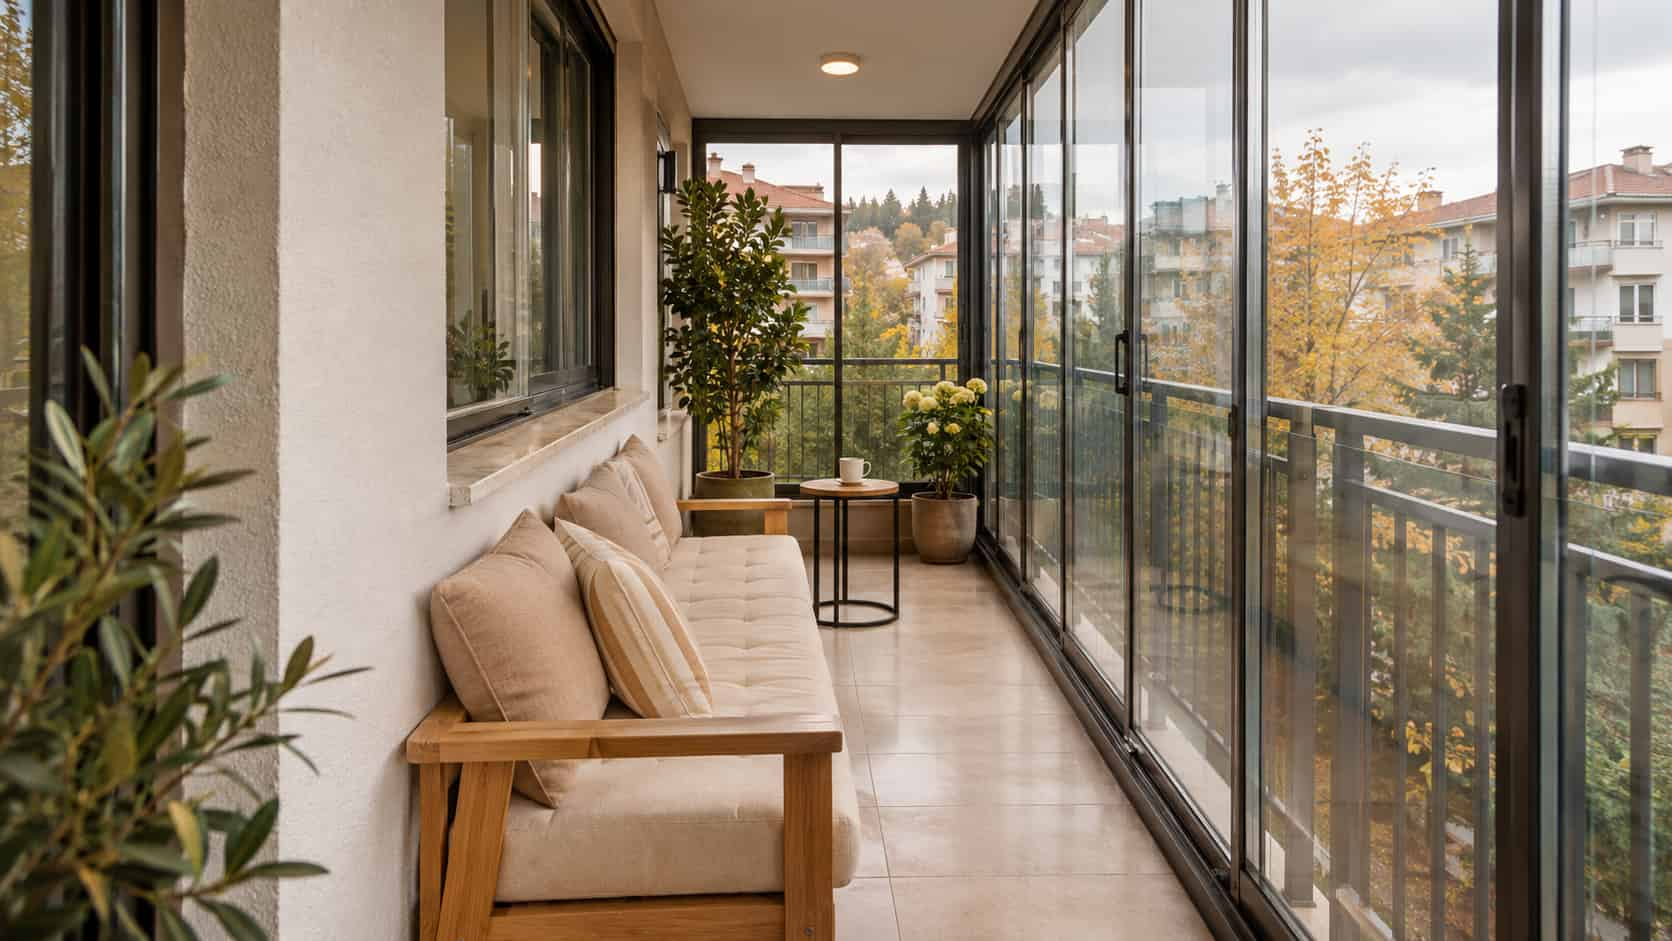

To turn a small balcony into a practical enclosed space, start by assessing the existing roof cover, where the glass panels will move, and how much room you need around the seating. The table and chairs need to fit while leaving enough space to open the door, pull out a chair, and operate the glazing.
A practical small balcony winter garden makes the most of the available space while accommodating everyday habits. Glazing alone will not give the balcony the same comfort as an indoor room. Plan the layout around what the existing structure can accommodate and how you intend to use the enclosed space.
How to Assess Usable Balcony Space and Existing Roof Cover
Start by looking at how much of the balcony you can actually use. Columns, wall projections, the parapet and the door into the home can all change how much space is available for the layout. A parapet is the low protective wall at the edge of the balcony. Its height and position help determine how the glazing is designed. A measurement between the two outer edges may therefore miss important details.
When planning a winter garden on a narrow balcony, check the existing overhead cover. A balcony fully sheltered by the slab above presents different conditions from one that is partly exposed. Even with overhead cover, a site survey is needed to assess the surfaces that would support the fixings and the conditions for installation.
Checks Before Glazing a Balcony with Existing Roof Cover
Note where the overhead cover sits relative to the edges of the balcony, any projections on its underside, and where the glazing would be fixed. Even on a covered balcony, exposure to wind and rain from the sides can vary. Point out any visible cracks, moisture marks or surface damage during the site survey. Glazing alone should not be expected to resolve them.
Assessing Roof and Structural Suitability for an Open-Top Balcony
For a balcony that is open to the sky, assess what kind of roof cover and fixings the structure can accommodate before choosing side glazing. A qualified professional should assess the loads from the new components and the load-bearing capacity of the existing structure. An installation on a neighbouring balcony does not establish suitability for yours. Confirm the structural conditions and any necessary permissions for your own project.
How to Sketch the Door, Parapet and Glass Panel Movement
For a simple measured sketch, draw the balcony as it would look from above. Mark the walls, columns, parapet and the door into the home. Note the clear internal width and depth and mark any points where the space narrows. Draw an arc to show the direction the door swings so you can see which area needs to stay clear for everyday access.
Also mark the path the glass panels will follow and where you expect them to stack when open. If you have yet to choose a system, mark these as areas to confirm during the site survey. Write the parapet height and the height to the underside of the cover beside the sketch. This gives you the vertical dimensions of the opening to discuss alongside the floor plan.
How Do Sliding and Folding Glass Panels Affect Furniture Placement?
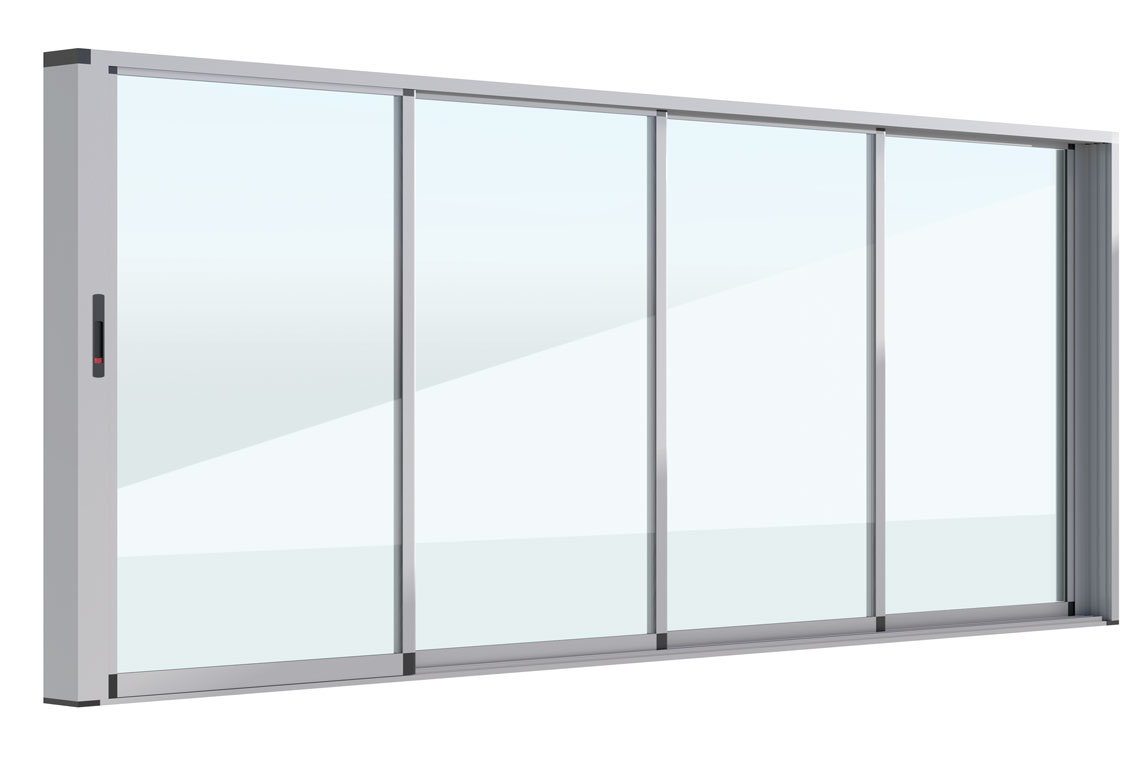
In a tight space, choosing a balcony glazing system means checking where the panels move and where they sit when open. Sliding panels travel along tracks, and the area where they overlap when open depends on the system layout. Check more than whether the furniture fits in front of the glass. You also need to reach the handle, operate the lock, and move the panel easily.
With folding systems, the path the panels swing through and the area where they stack can affect the layout. A chair placed there may need to be moved every time you open the glazing. Add the table and chairs to your sketch and check the panels in their closed, partly open and stacked positions. Identify any points where they interfere with furniture before installation.
How to Plan Seating and a Clear Walkway for Everyday Use
When planning a small balcony layout, start by deciding how many people will use the space and what they will use it for. Sitting briefly takes a different amount of room from dining at a table. Measure the table and allow room to sit down, stand up, and pull back a chair. Seating close to the door can restrict access more than you might expect.
To plan a comfortable walkway on the balcony, consider how people need to move, where the door is, and how the glazing opens. A single clearance dimension will not work for every project. Temporarily mark the intended furniture footprint on the floor and try moving around as you would normally. This helps you assess the layout in practice. Technical suitability and accessibility still need their own assessment.
Balancing Comfort and Ventilation on a Glazed Balcony
A glazed balcony may differ in temperature from the rooms inside your home. The glass and frame specifications, how the components meet, the existing roof cover, and the balcony’s orientation all affect the conditions. Reducing wind exposure is different from providing thermal insulation. Decide whether you want a more sheltered spot to sit or a space you can use enclosed for longer periods.
Plan which panels you can open for ventilation and how far they can open. Furniture in front of an opening panel can make it harder to air out the balcony. Moisture can build up inside, and condensation can form on the glass depending on how the space is used. Keep the panels within reach and their opening paths clear so you can ventilate the balcony as needed.
What Should You Measure and Decide Before a Site Survey?
Before the site survey, gather the approximate dimensions from your sketch, the door opening size, the parapet height, and details of the existing overhead cover. Take photos of the entire balcony, including the corners and any surfaces that may take fixings. Photos help with the initial assessment. The installer still needs to check the existing structure and confirm installation dimensions on site. Flag any measurements you cannot take or are unsure of.